
Welcome to the Tweaking AI settings! In this tutorial you’ll learn to adjust the different AI settings that will help you obtain the perfect result. Continuing from the previous tutorial, Get started filtering, let’s choose a filter, here ‘Untitled by Basquiat‘, and input an image, here a violin, then let the app filter:
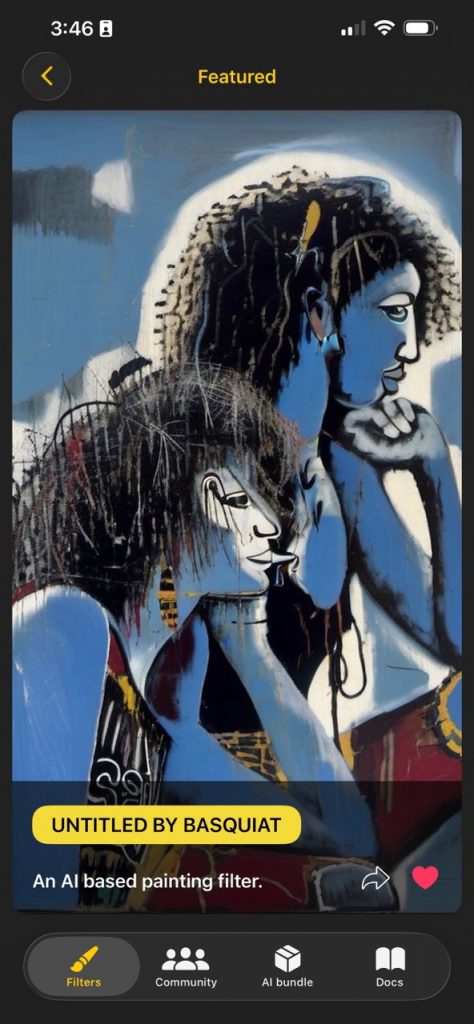
Choose filter 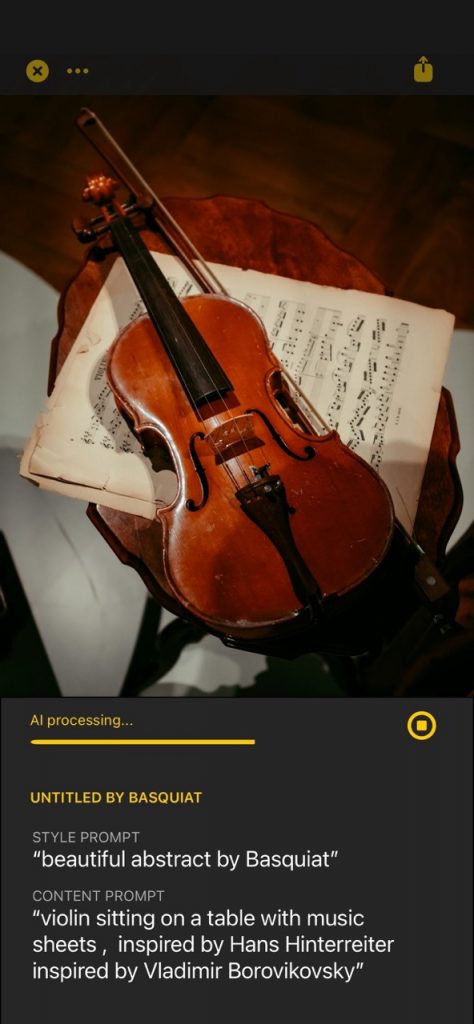
Processing 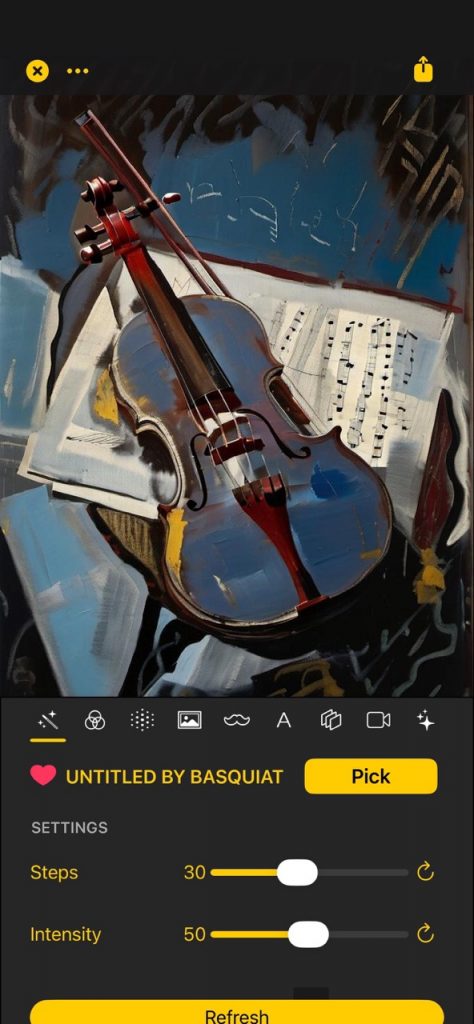
Result
Nice initial result! Now let’s get started tweaking. The first two important sliders are ‘Steps‘, and ‘Intensity‘.
Steps and Intensity
To understand what they do, you need to understand that our AI art filters are processed in two steps.
- Step 1: Initial coloring and texture. Controlled by ‘Intensity‘ slider.
- Step 2: AI refining and detail. Controlled by ‘Steps‘.
So basically Intensity makes the coloring and texture stronger or weaker. Let’s run it with a low Intensity of 10 and another with high 100. Slide the Intensity slider to the desired value and tap on ‘Refresh‘ to re filter.
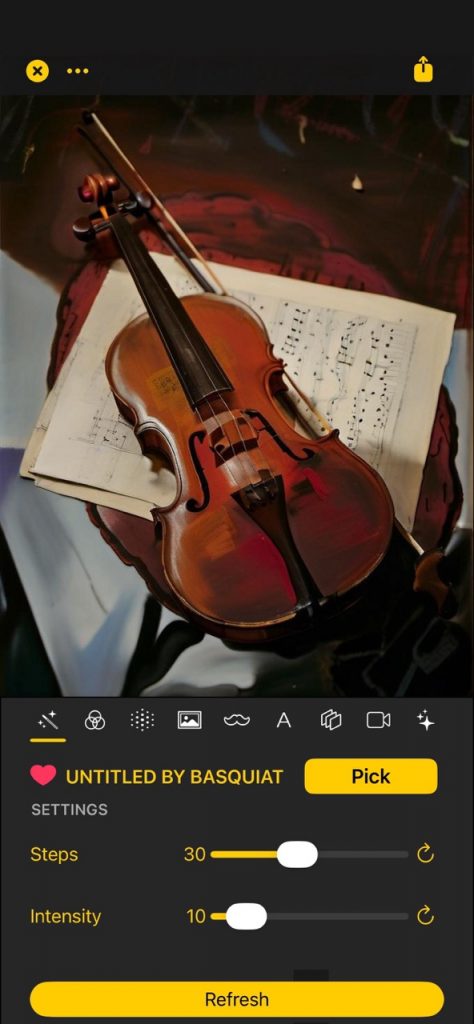
Intensity: 10 
Intensity: 100
You can appreciate now what Intensity does! Let’s now set it back to it’s default (tap on the refresh arrow next to the Intensity slider), and now play with the ‘Steps’ slider, one run with 10 and another with 70:
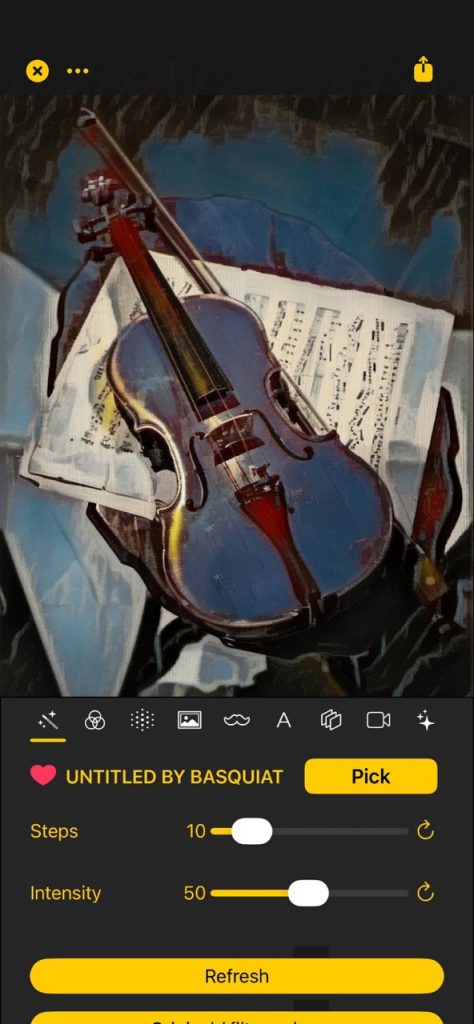
Steps: 10 
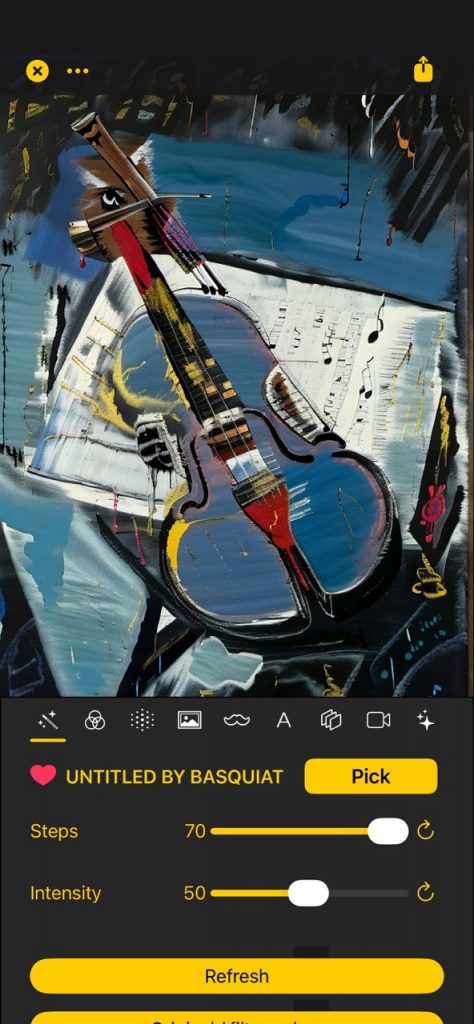
Steps: 70
As you can see, lower steps makes the result less stylized but closer to the input image. This is useful when you need to preserve as much detail as possible about the initial image. On the other hand, a high value renders more stylized results but also will deviate from the input image more. For example, with human faces and other detailed image this is more visible.
Original / filter colors
Another useful setting is the ‘Original / filter colors‘ operation, which is the button right below the ‘Refresh’ button. Tap it on the last image and you’ll see immediately what it does: it changes the output image color with the one in the input, altough keeping the texture and detail of the result image, so that it still looks like a painting. (Tapping it again and it will go back to the filter colors.)
Filter colors 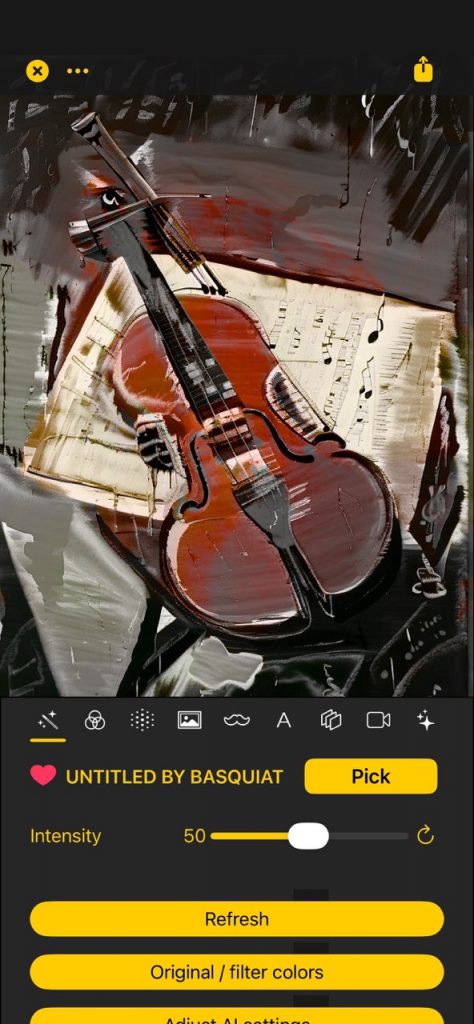
Original colors 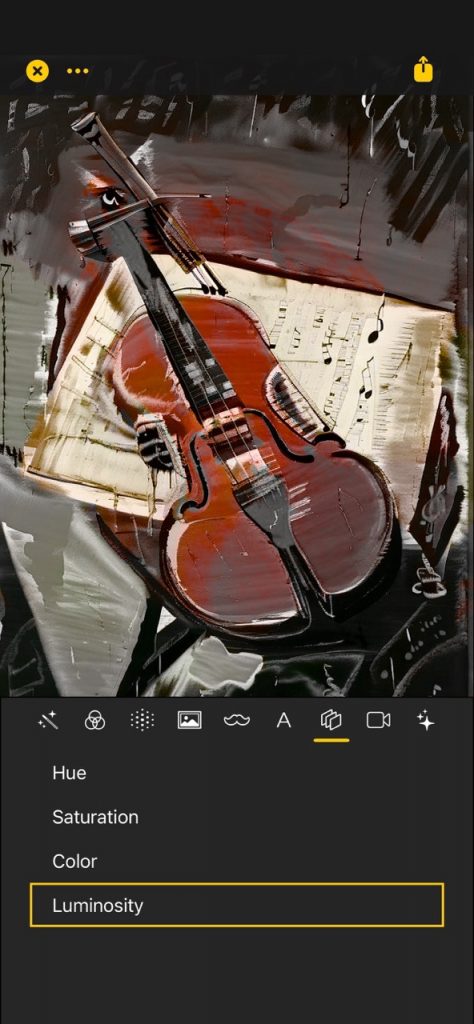
Luminosity composition
Technically, this is a Luminosity composition. Tapping on the button is just setting the composition option from ‘Normal’ into ‘Luminosity’. You can go to that menu option, the layers icon tab, scroll down, and you will see the different composition options.
Adjust AI Settings
Now scroll down a bit below the ‘Original / filters colors’ button and you’ll see the ‘Adjust AI Settings‘ button, tapping on it brings the following screen, where you can edit different AI parameters.
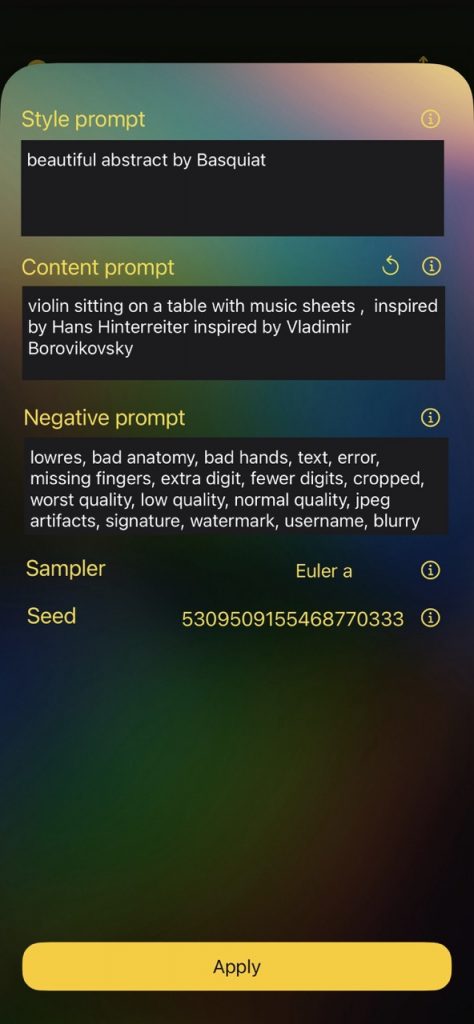
Style prompt. This prompt specifies the desired style of the result. For the current filter, it’s ‘beautiful abstract by Basquiat’. You can of course tweak it with whatever you want, but always here describe the style, that is the texture and coloring for example but not the actual desired content, that goes in the next prompt.
Content prompt. Here you can describe the content, that is what is actually seen in the result image, like the objects and different composition. This is auto generated by our AI cloud as well, like here ‘violin sitting…’, but you can tweak it as well!
Let’s run an experiment, shall we? Replace the content prompt of ‘violin’ with ‘guitar’:
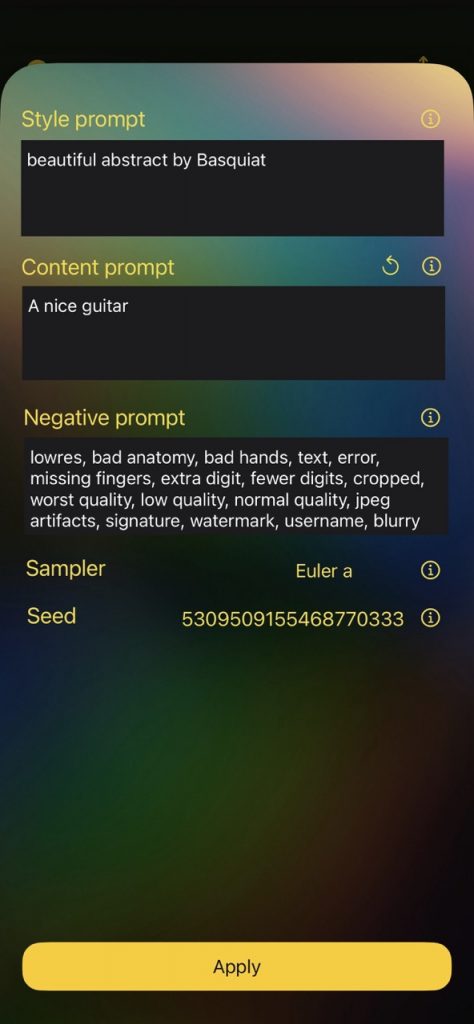
Content prompt: a nice guitar 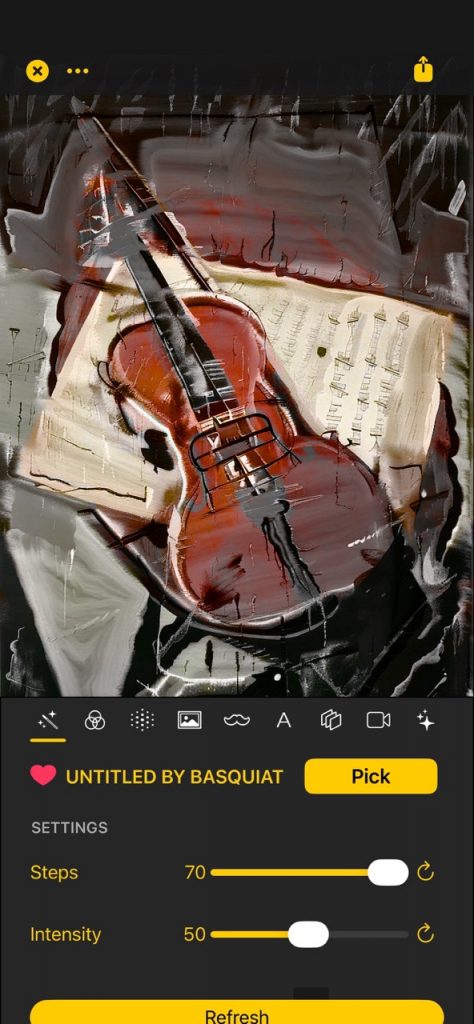
Result: violin changed to guitar-like
As you can see, the violin gets deformed more into a guitar like. Depending on the input and the filter, this gets more or less strong.
Other AI settings
- Negative prompt. Type here whatever you don’t want the result image to have.
- Sampler. This technical option will affect the result image, sometimes making it smoother and sometimes sharper.
- Seed. This is always reset automatically so that each time you tap on ‘Refresh’ the result is different. However if you modify it here with a particular value then it will always return the same. Useful to deterministically reproduce the same result.
The remaining options are ‘Retouch / Fix’ and ‘Enhance to HD‘, which we’ll describe in upcoming tutorials.
Congrats! You can now continue learning with Retouch / Fix & Enhance to HD, learn about our AI bundle & subscription, or go back to the main Documentation.