
Welcome to this important tutorial that will teach you how to improve your results when the AI isn’t giving you exactly what you need. Let’s start! Choose a filter, like ‘Solly watercolor, and an input image, of a person portrait below, and let the app filter:
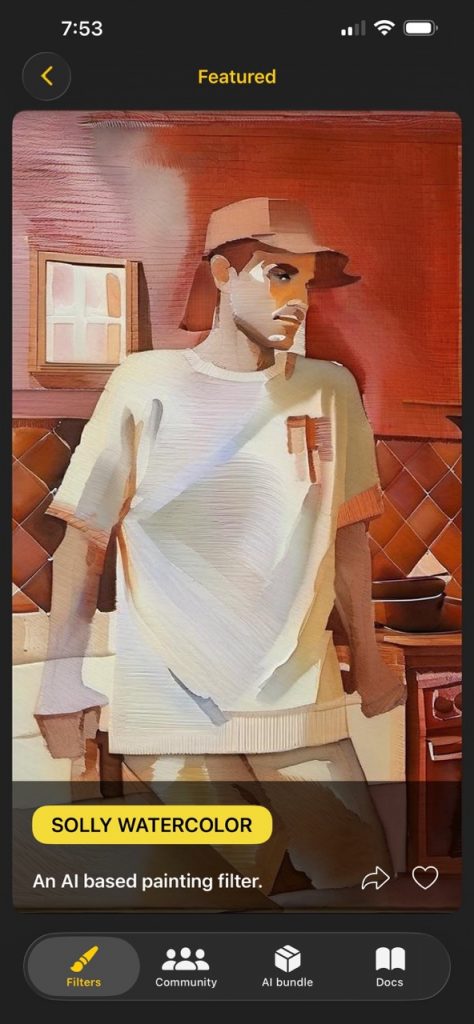
Solly watercolor filter 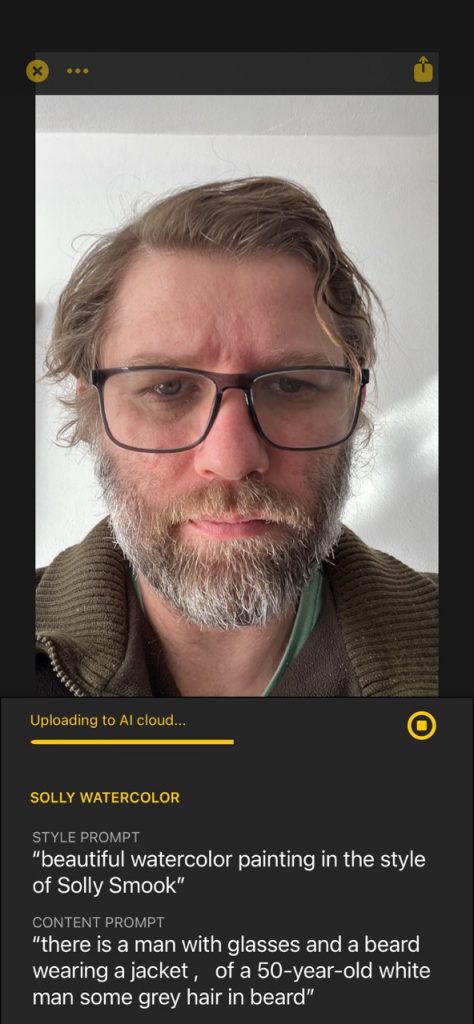
Processing 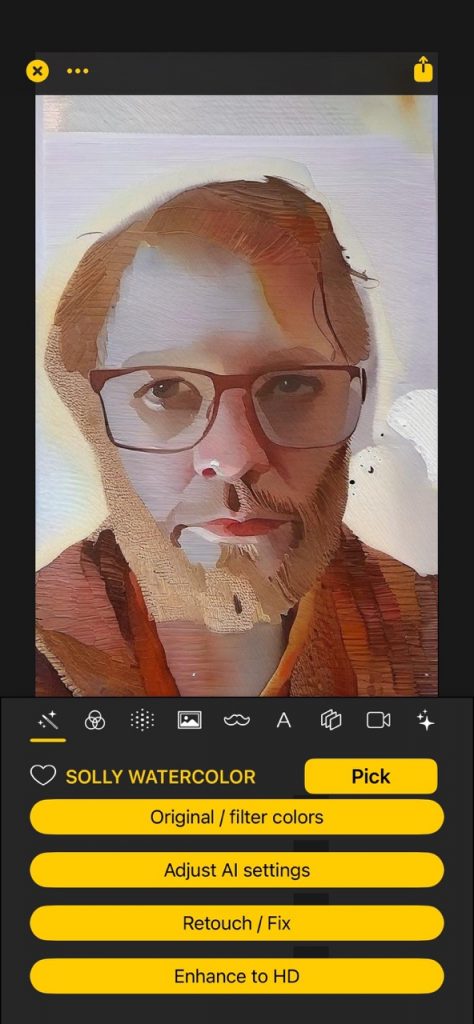
Initial result
The result face isn’t exactly matching the input, so we need to retouch it. Tap on the ‘Retouch / Fix’ button, and with your finger paint the area that you want to fix (the face, in this case):
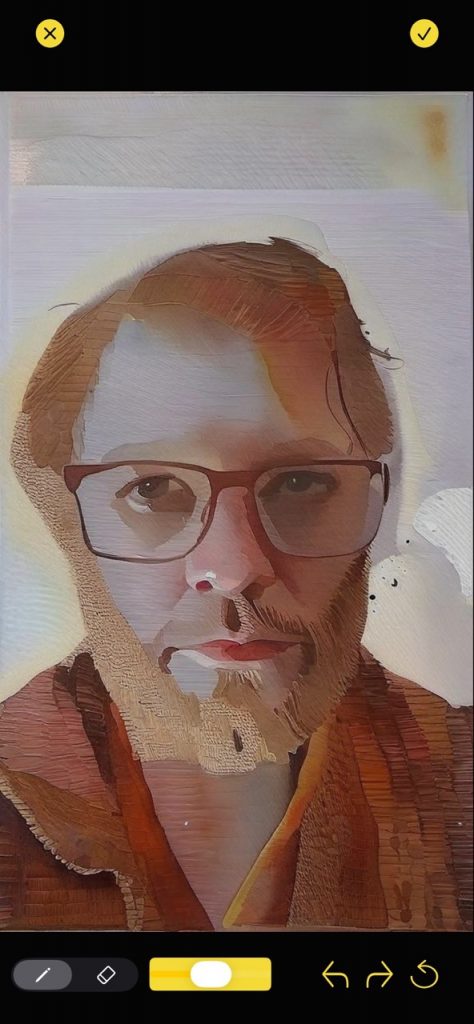
Initial retouch fix screen 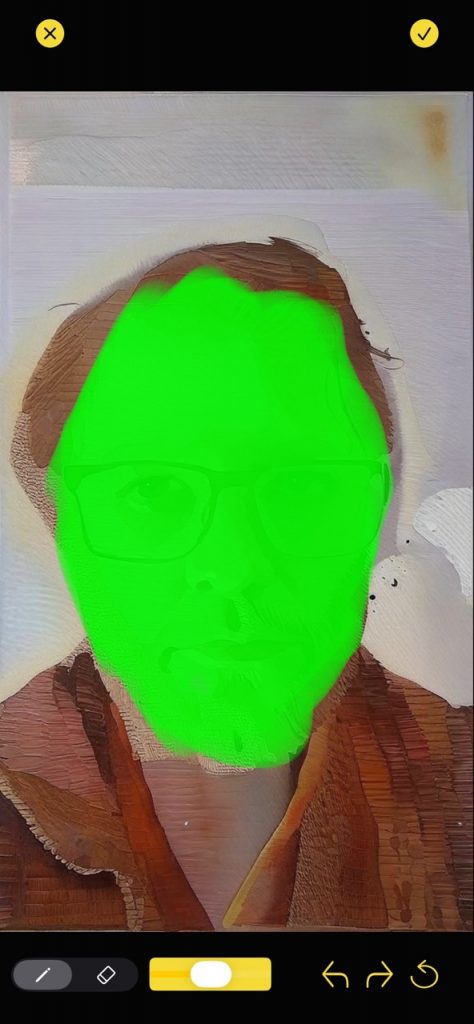
Painting the area to fix
The retouch screen has tools on the bottom to help you create the mask: on the bottom left you have the pencil tool, then the eraser tool. The slider changes the size of the brush. The buttons are undo/redo/reset. Once ready, tap on the top-right checkmark to continue, it takes you to the retouch parameters screen:
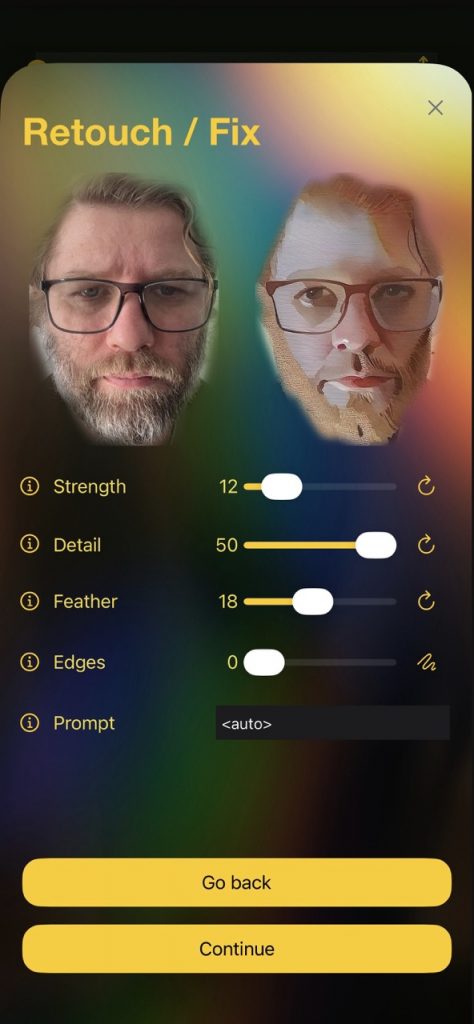
Retouch / Fix parameters
In this screen you can see a lot of stuff, so let’s go in parts.
- On the top, you see the Before and After areas you’re working with. If you’re not happy with the selected area, tap on the bottom ‘Go back’ button to go back to the initial retouch / fix screen.
- Strength. This is like ‘Steps’ in the AI processing: a small number applies the AI softer and thus less stylized (good for keeping details like faces).
- Detail. What this does is enlarge the area before sending it to the AI processing cloud: when the area is larger, then more details can be seen by the AI and thus the result can keep more detail.
- Feather. This controls the feathering applied to the edges of the area, so that a larger value will blend better with the rest of the image.
- Edges. This experimental tool lets you draw edges that guide the AI better.
- Prompt. A specific prompt to be provided to the AI. Optional.
When you’re ready, tap on ‘Continue’ to send the area to the AI cloud in order to process it:
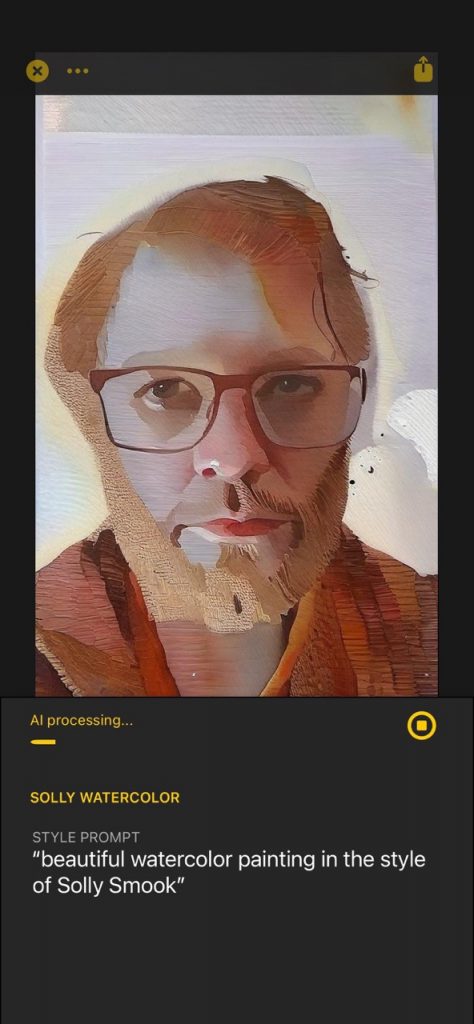
Processing the area 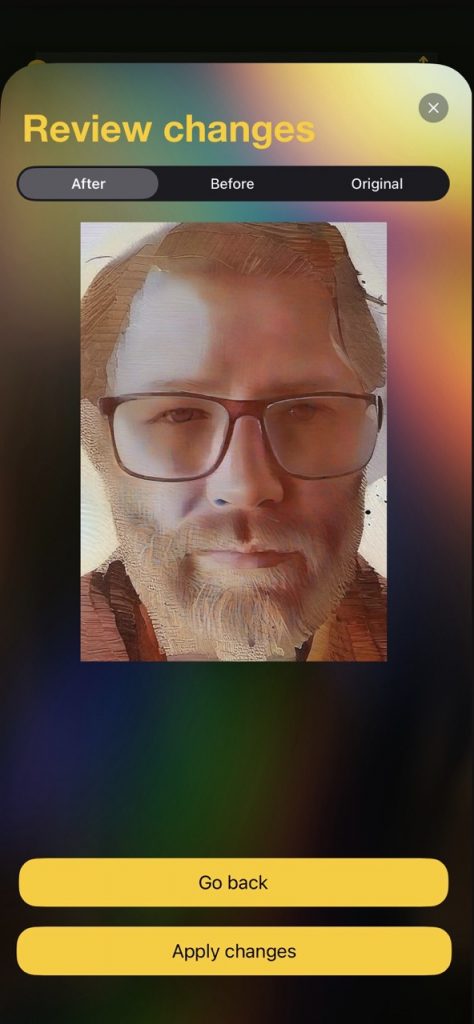
Review changes 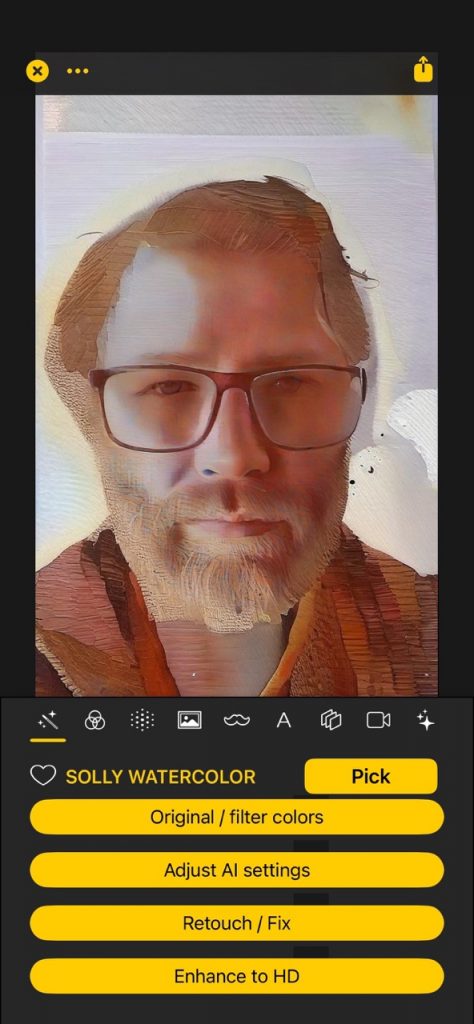
Changes applied
Once the area is processed, you’ll get to the ‘Review changes’ screen: you can switch between the ‘After’, ‘Before’ and ‘Original’ and compare if you prefer or not the new processed area. If you don’t like it, you can ‘Go back’ and tweak the sliders (for example, less strength or more detail to get a more faithful result perharps). But if you like the result, tap on ‘Apply changes’, and the new area will be incorporated!
Congratulations! As you can see, the Retouch / Fix tool is very powerful. You can use it to enhance and fix areas like faces / hands / or text areas that you want to fix. And you can apply it in any part of the image and as many times as you like. But keep in mind that if you refilter the whole image then your changes will be lost, so be careful.
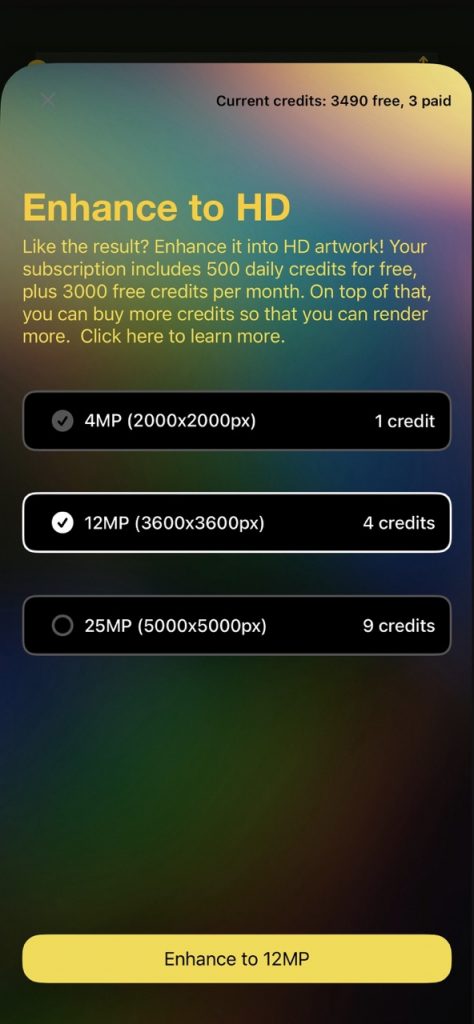
Enhancing to HD
Another important tool is the Enhance to HD tool. Basically, this will refilter your image but in a much larger resolution.
Enhance to HD 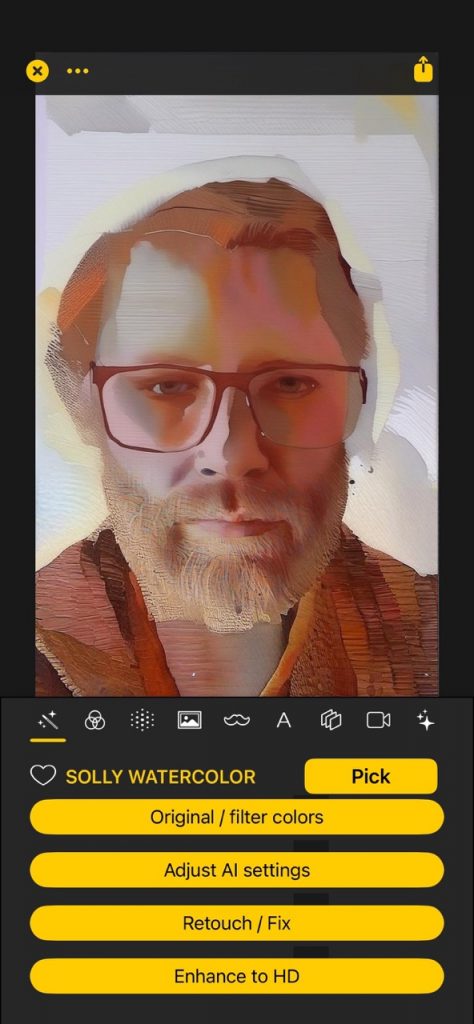
Result 
Result enlarged
When you tap on the ‘Enhance to HD’ button, you can select the level of HD: 4MP is regular, 12MP is high and 25MP is UHD. They take more credits and take much longer to process, since the AI cloud is doing much more work. How it works? Basically the input image is cut into tiles (4 tiles for 12MP, 9 tiles for 25MP) and each one is processed separately. Then everything is re assembled (but done in a way that is transparent and seams can’t be seen). As you can see in the top-right image, the HD version is much more detailed, and can be for example printed on physical media without losing detail.