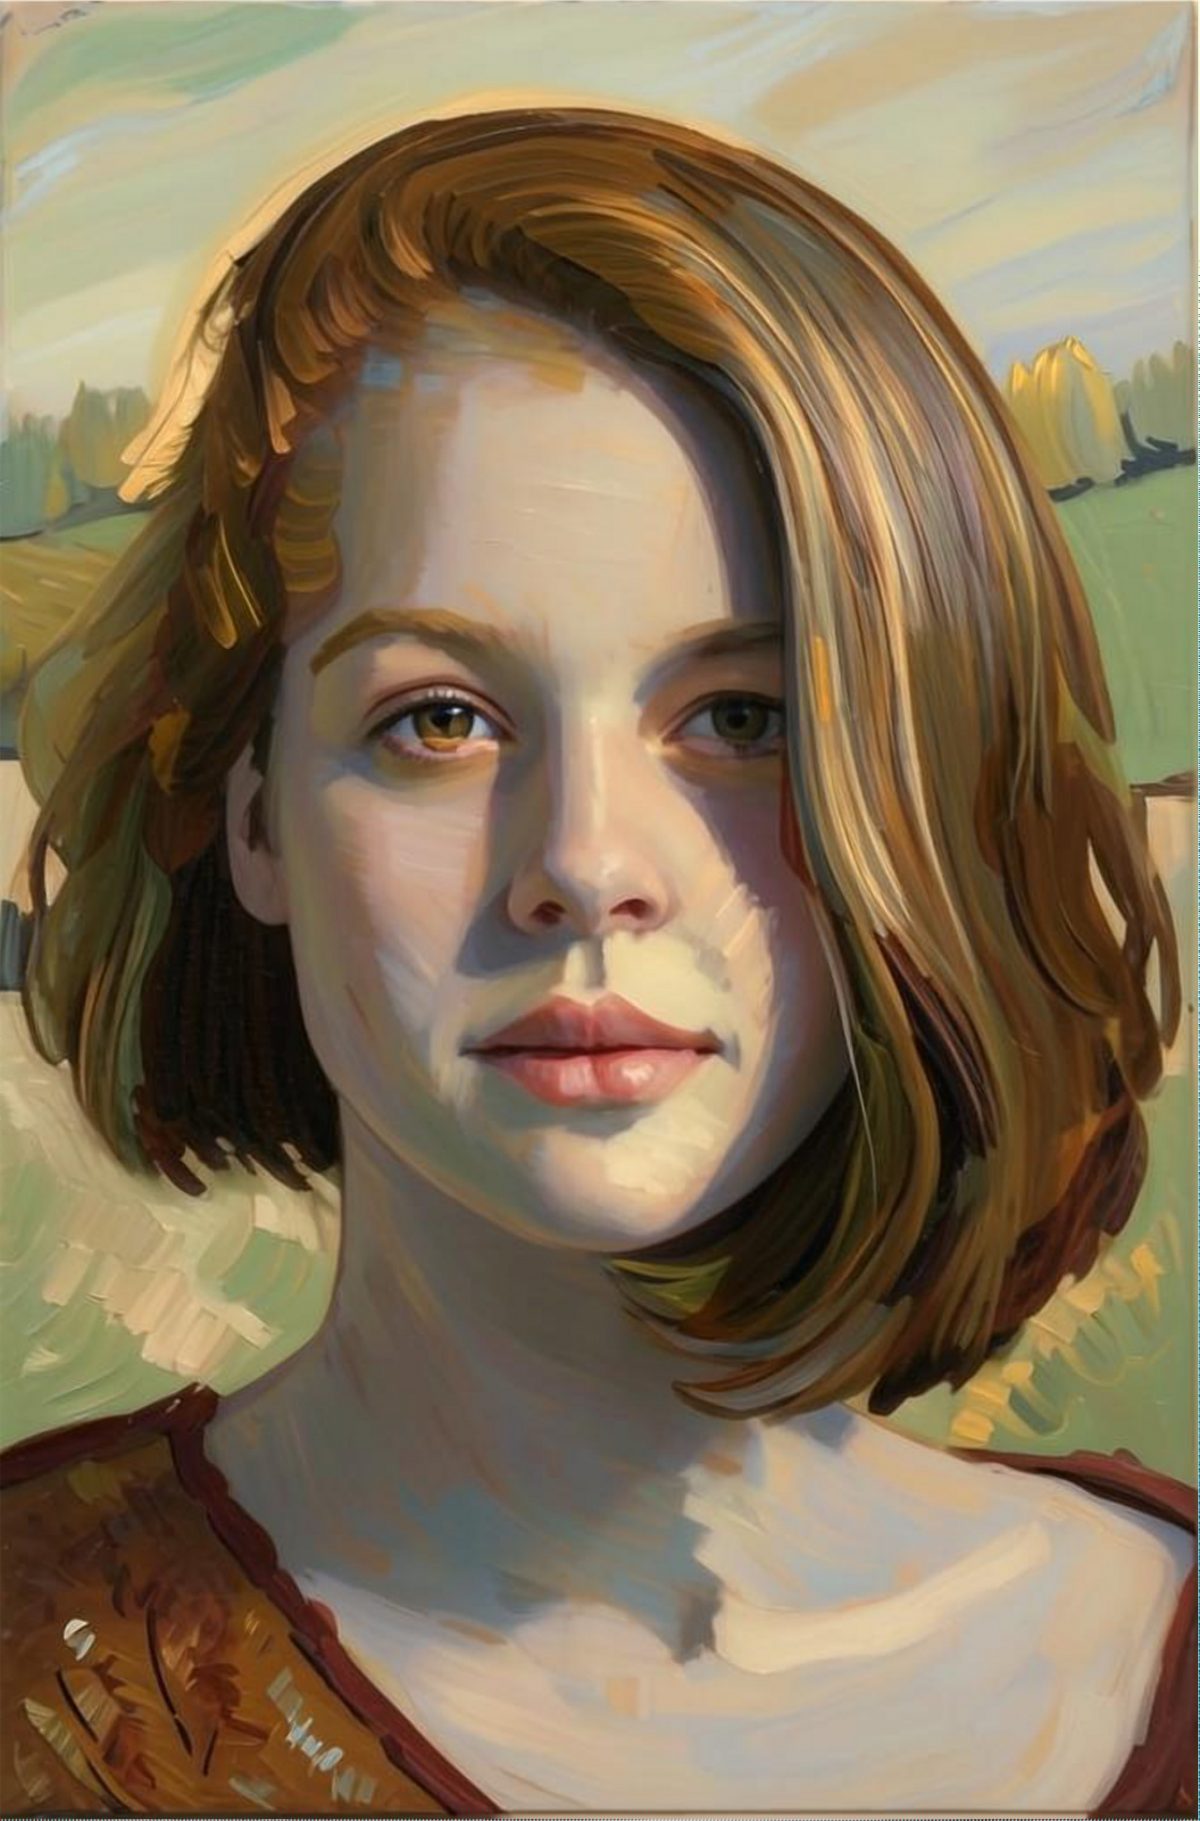
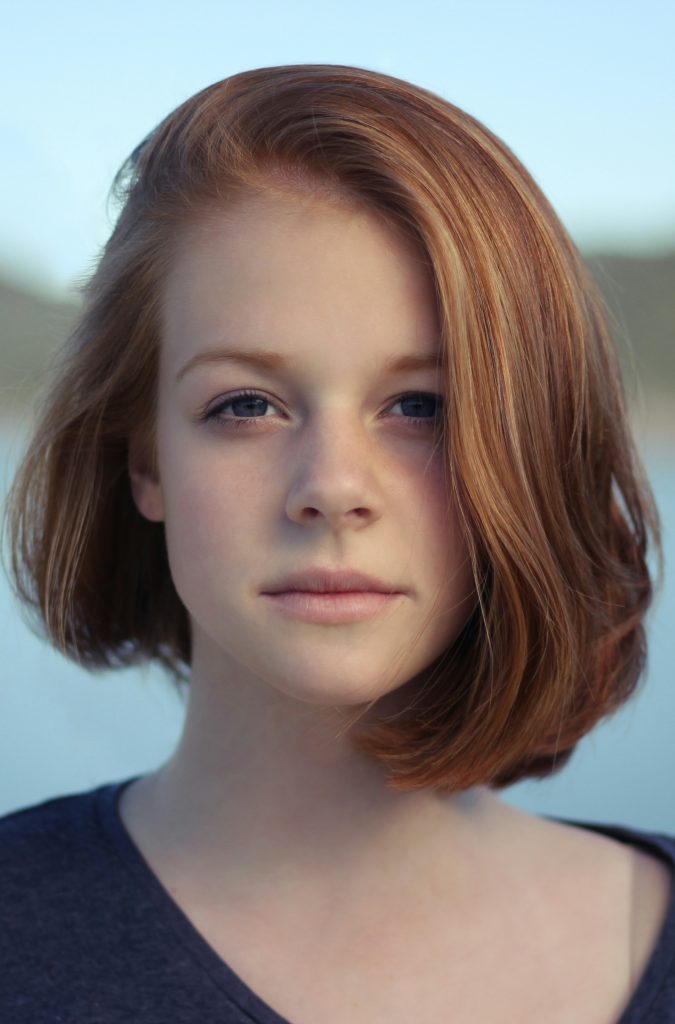
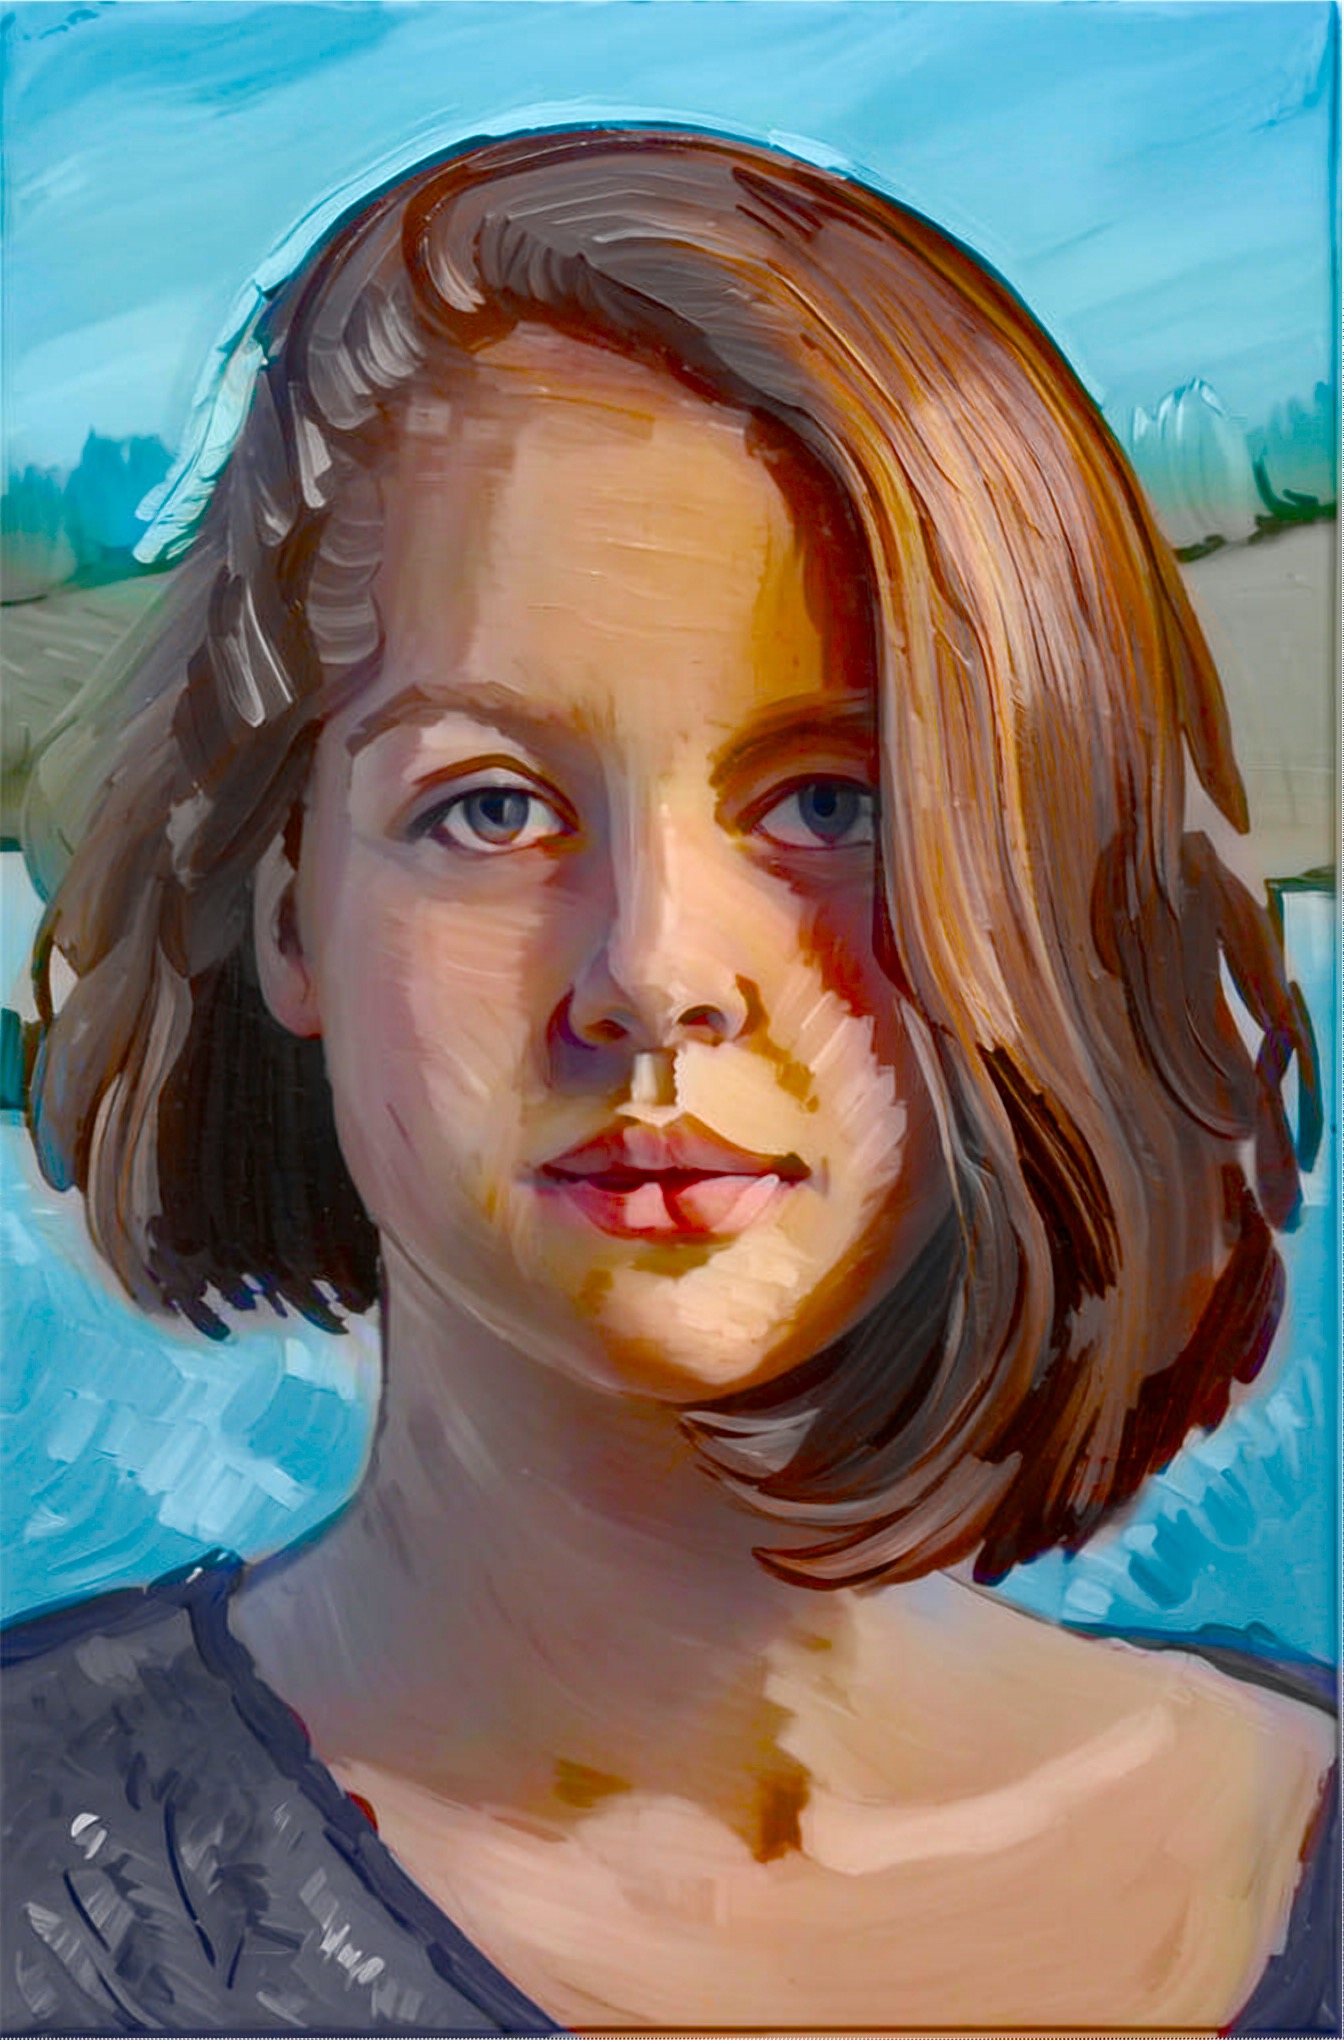
We’ve added a new powerful tool, called ‘Enhance’. As the name implies, it’s used to ‘enhance’ the result you obtain from the initial, base results. Enhance has an ‘intensity’ slider to allow to choose whether to enhance the stylized result or make it more like the original input. It’s useful when you want to preserve original details like faces or hands, when used with low values. Let’s see an example! Consider this input image:
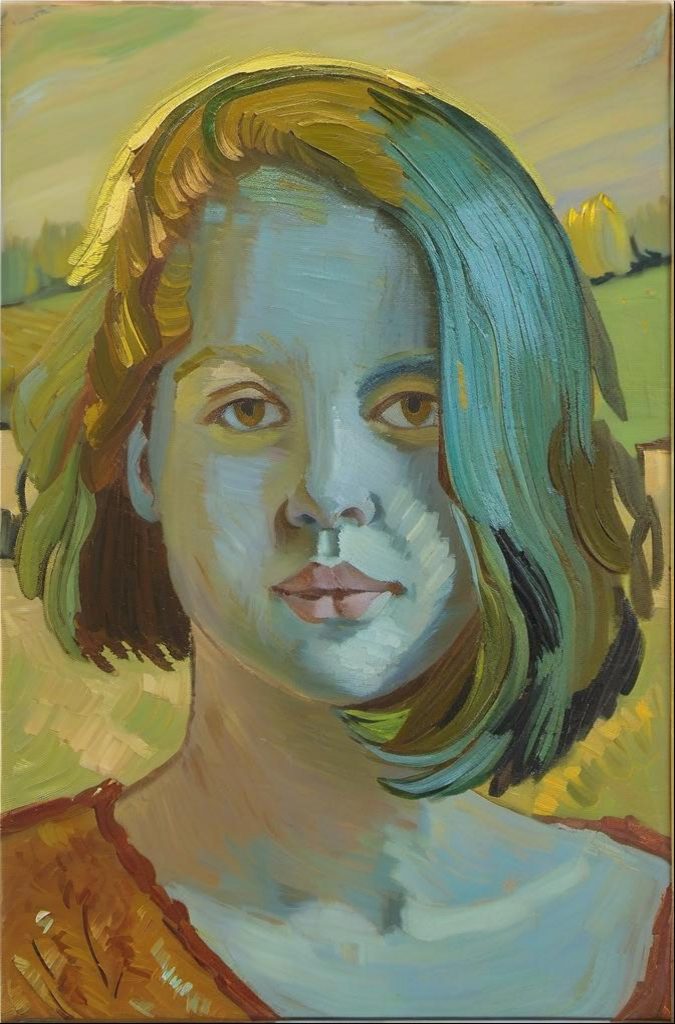
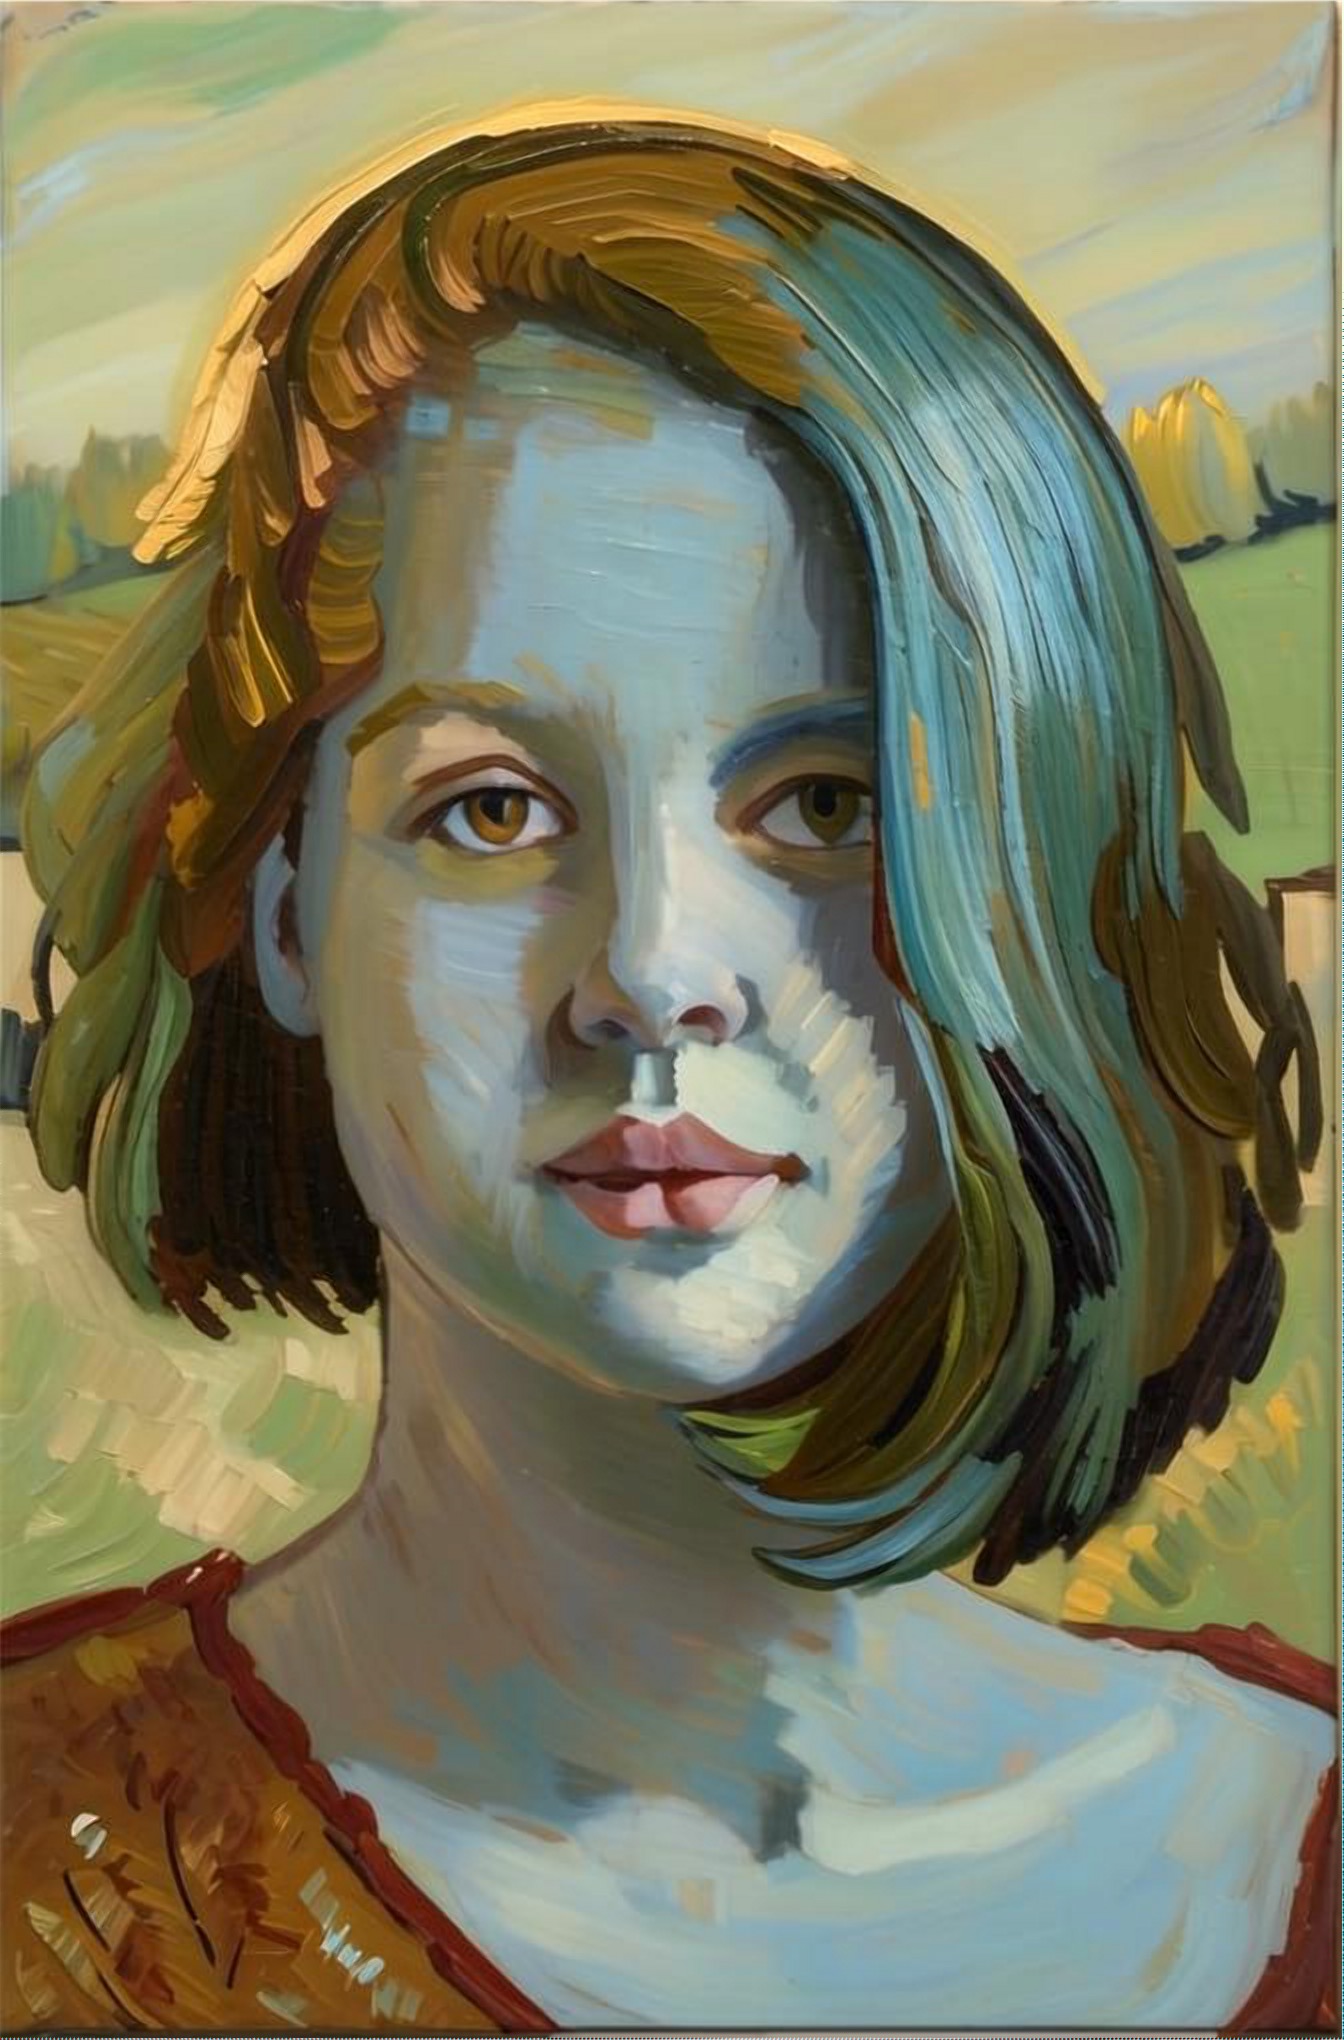
Let’s apply a painting filter (here, “Vincent’s Chair” from AI Impressionist):
Enhance
 |  |  |  |  |  |
| inpu | e 100 | enha 100 | enha 75 | enha 100 | outp |
Enhance with low value
Using value 0 (zero) makes the result very close to the input image (but still keeping painting details like brushstrokes).
Enhance with medium values

Using value 50 makes the enhancement mid way between details of input image and stylization.
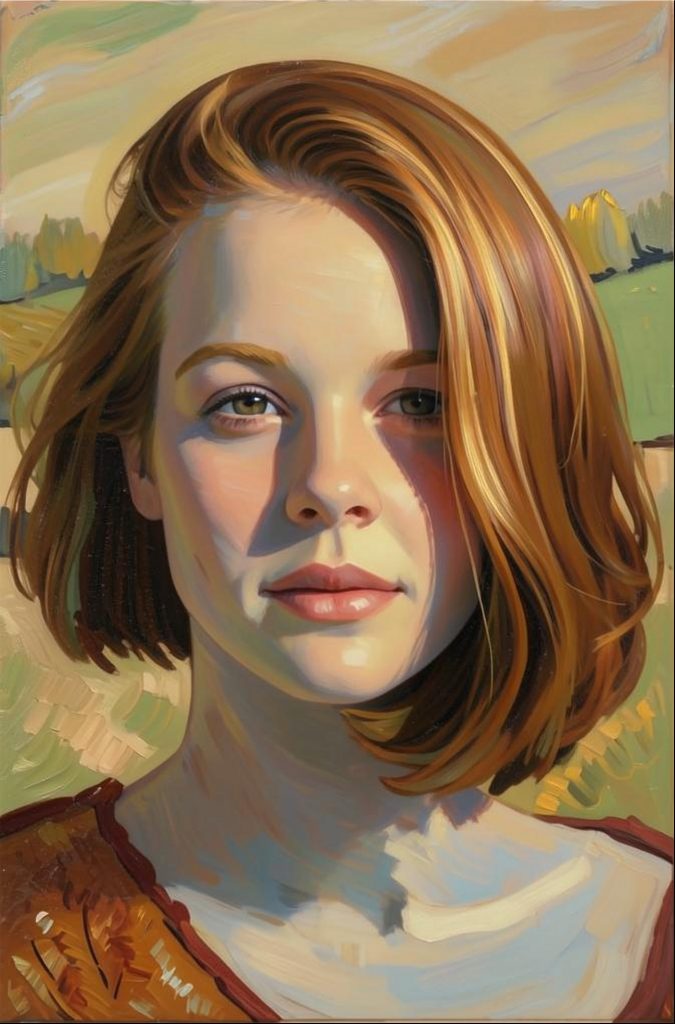
Enhance with higher values

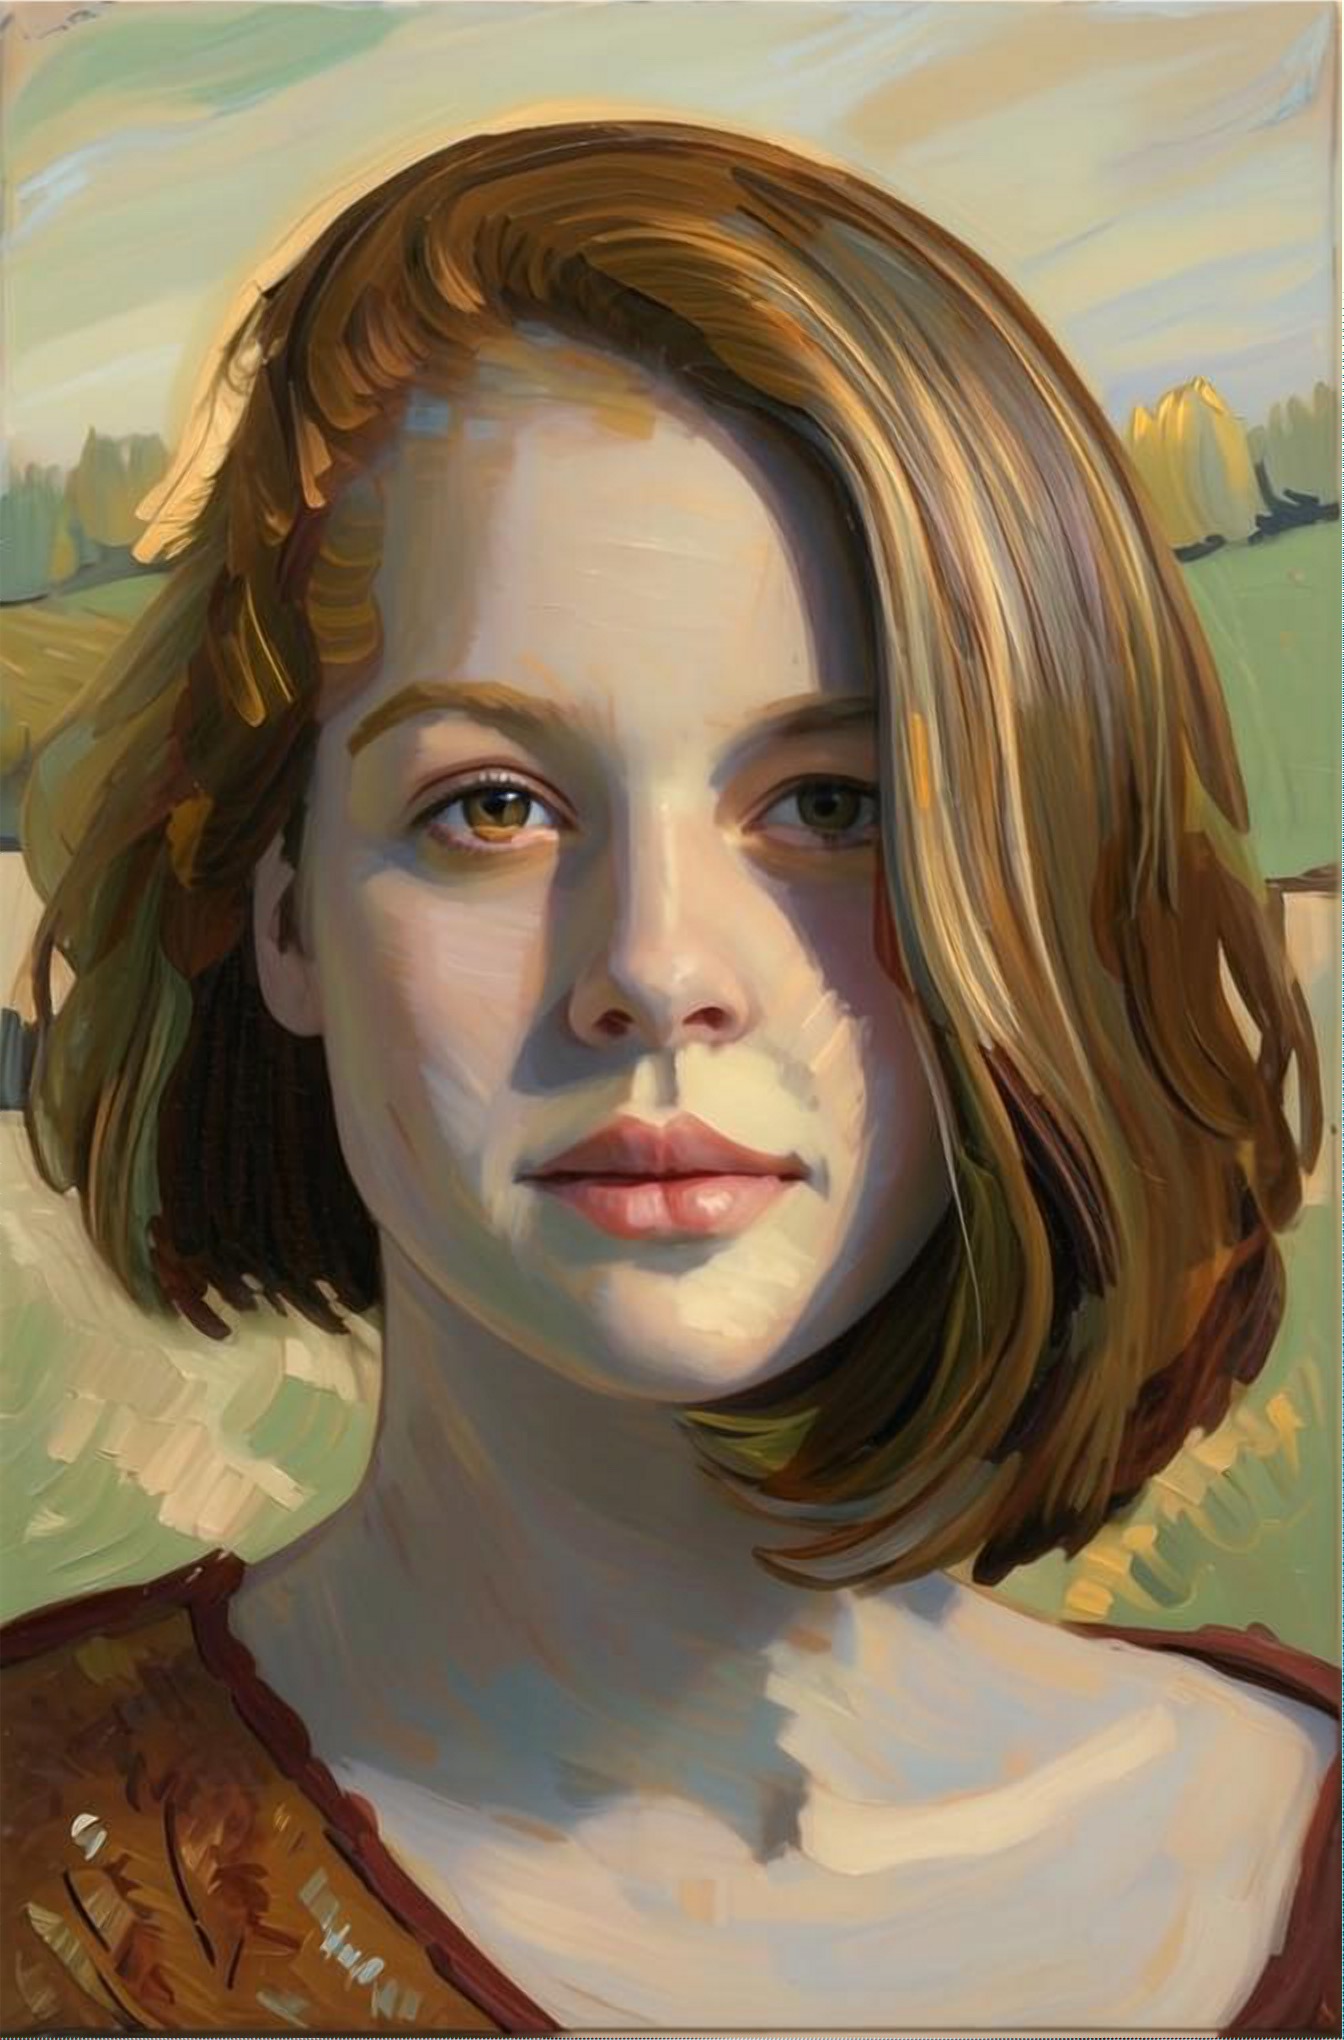
Using 75 makes it closer to the painting, but still gaining some details from the input. This can be combined with tool ‘Original colors’, to make it closer to the input:

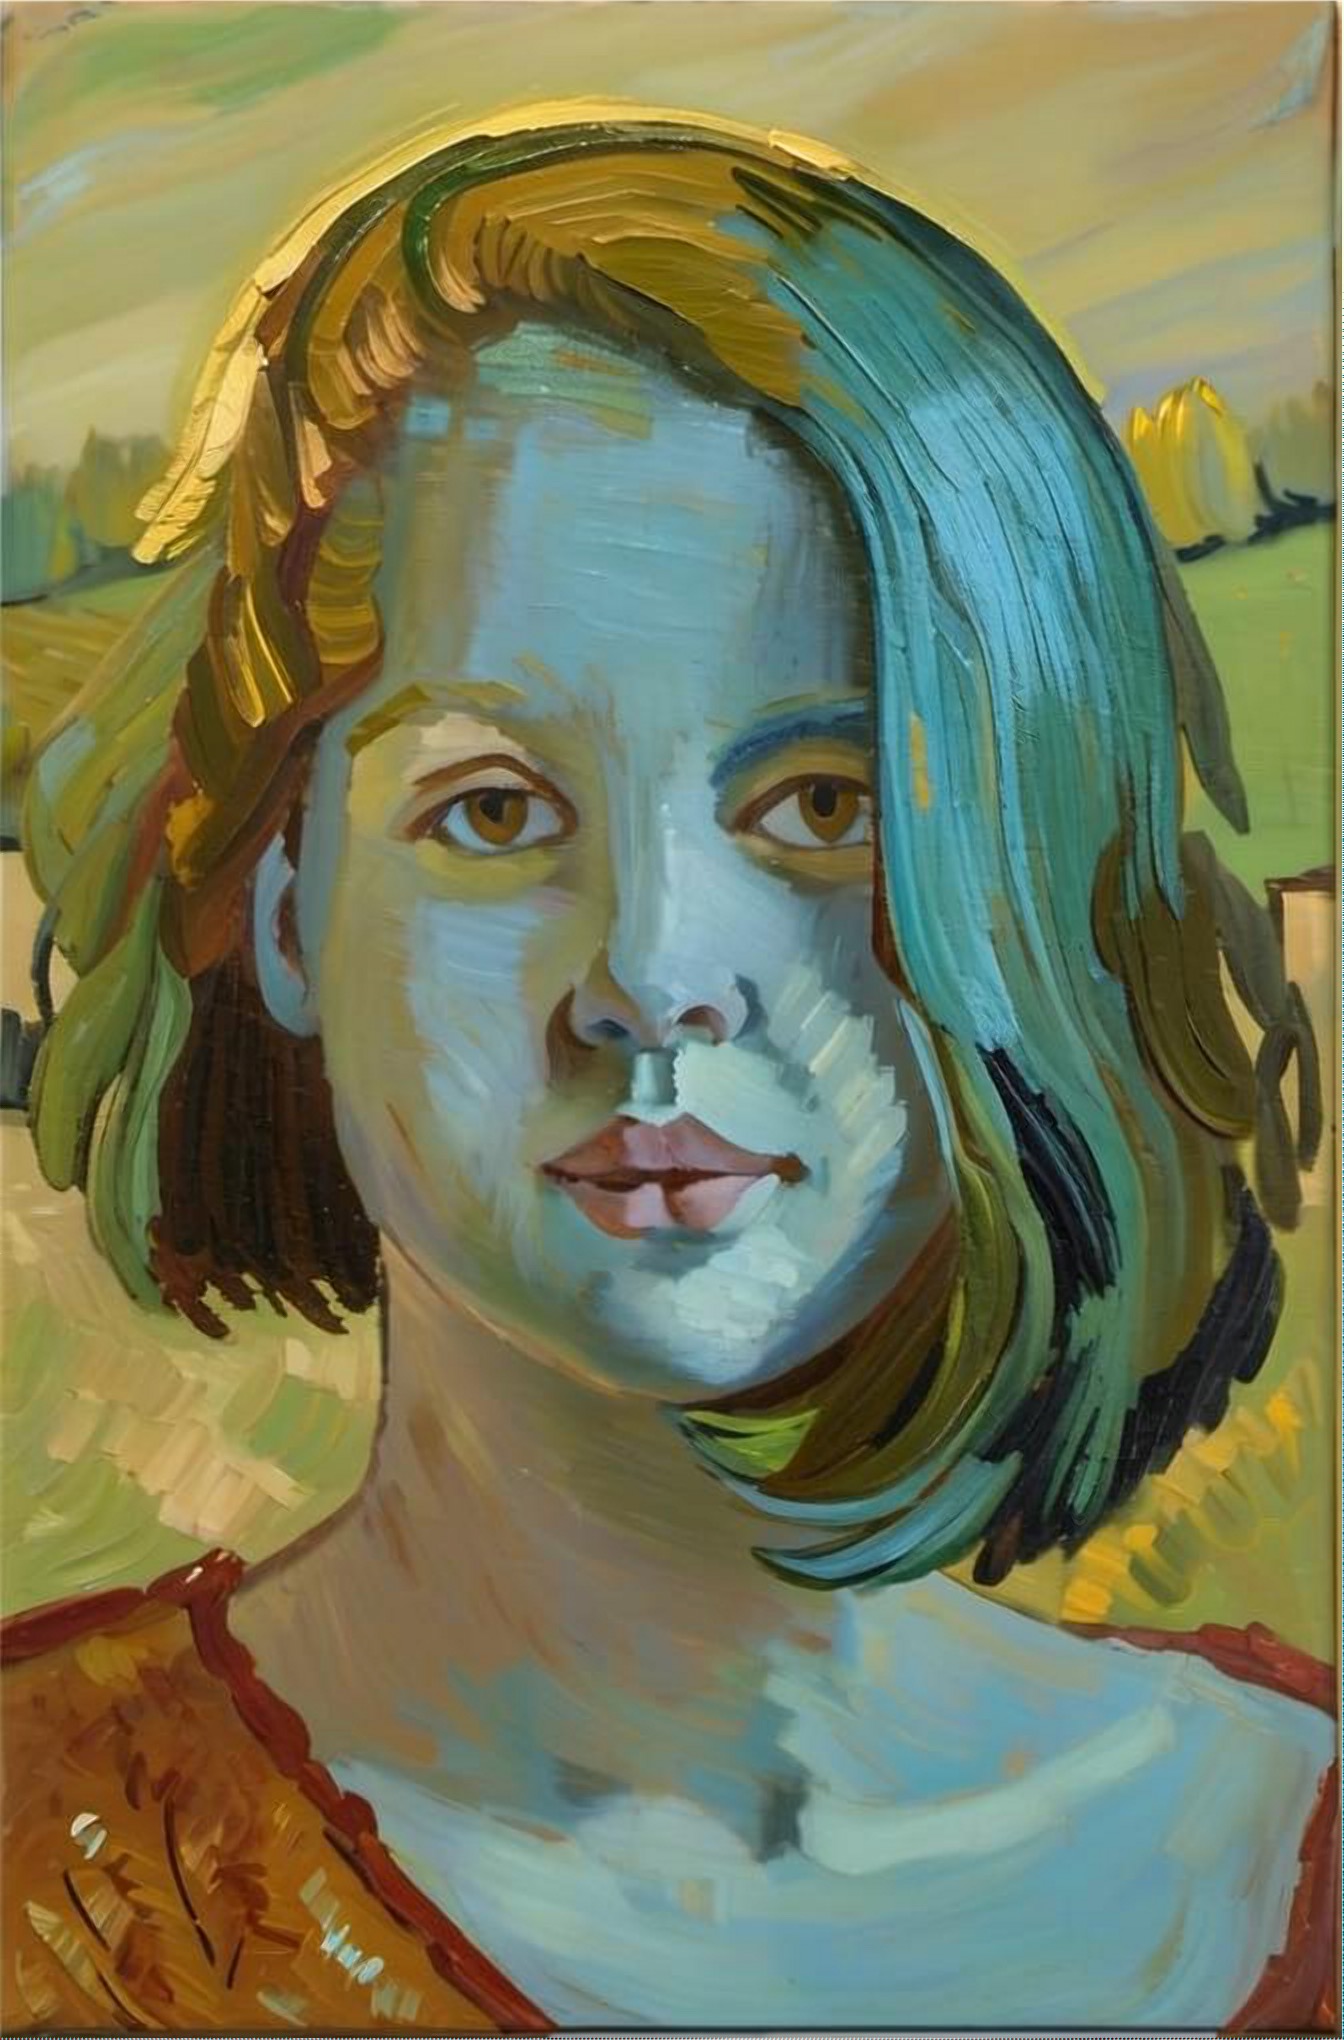
Enhance with highest value
Enhancing with value 100 makes the result very close to the original base output, but still better! See it side by side:
| |
| Left: initial output | Right: Enhance with 100 |