
Welcome to your first tutorial, where you’ll see the magic of turning a photo into an artwork with AI.
Note: the screenshots below are for SDFX for Apple iPhone/iPad. But don’t worry, these instructions work also for our other AI apps: AI Impressionist Painter, Aquarelle, Graphite, and Stylo, which are part of our AI Bundle. Also, if you’re on Mac, Android, or Windows, the instructions apply although the user interface will vary. We’ll be adding tutorials for those platforms soon!
Filter steps
The steps to produce AI art are all the same in our apps and involve these four simple steps:
- Choose a filter: simply tap /click on a filter you like, or use the Search feature to find by painter/style.
- Choose input image: you can select an image file from your local storage (or other sources)
- Apply filter: once an input image is chosen, you are directed to the apply filter screen; on iOS/Mac the filter is applied automatically, on other platforms there’s an ‘Apply Style’ button you need to click or tap to begin the filtering.
- Adjust / save result: after processing you will see the result, and you can now save/share, or tweak the settings and refilter, using the ‘Refresh’ or ‘Apply Style’ button. You can do this as many times as you like!
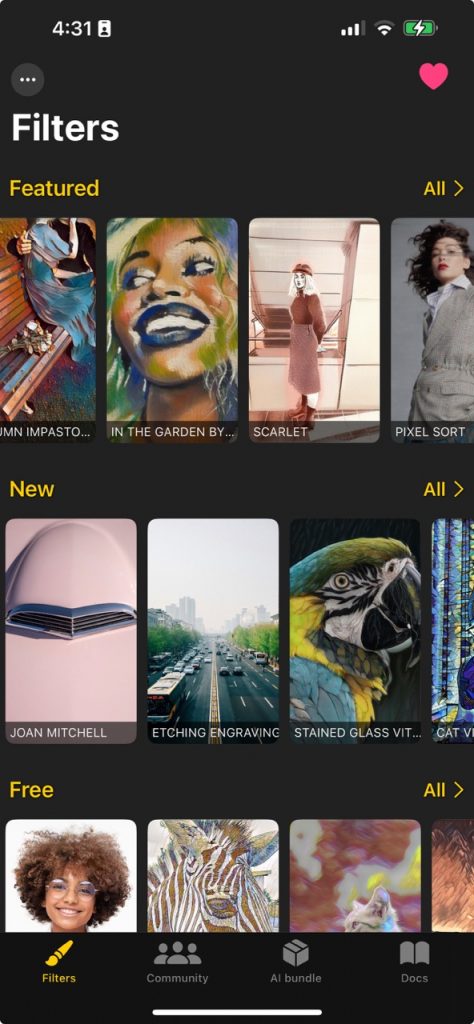
Let’s start! Launch the app, and head into the Filters section:Choose a filter from the initial App screen. (If you haven’t yet subscribed, just choose one from the ‘Free’ section. These are non-AI, low quality, designed to give you a taste. You can also start a free 1 week trial here.).
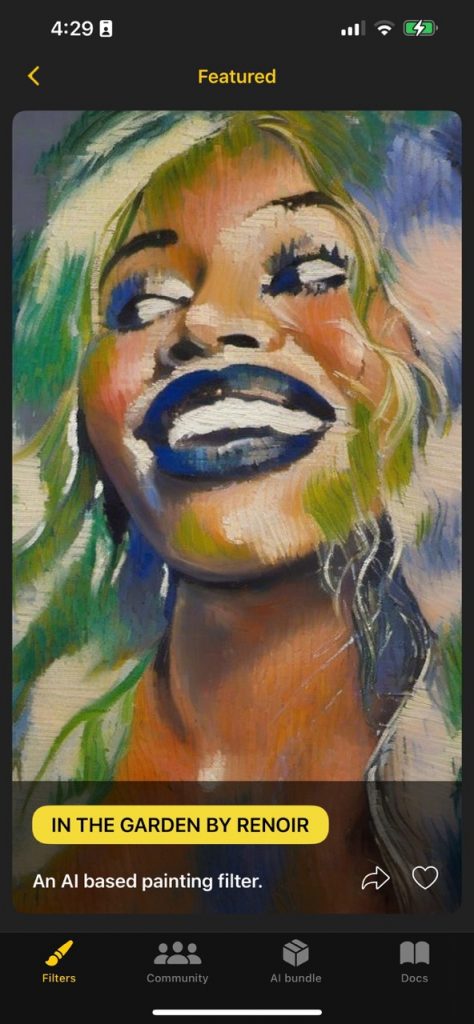
Here we chose ‘In the garden by Renoir‘:
Tap on the image, or in the yellow button to start using it. This will show the Choose input screen:
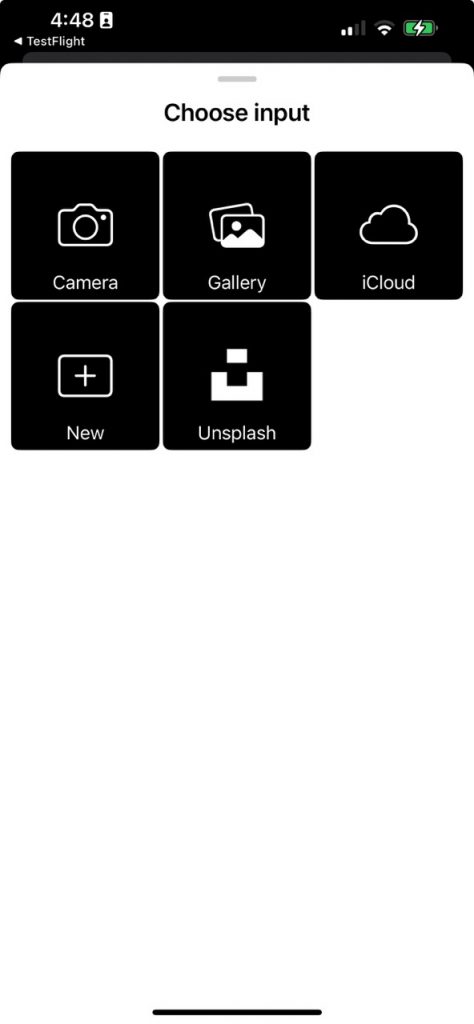
In this screen you can choose where to add the input image. You can take a new photo, choose from the Gallery, iCloud, or Unsplash, among others. Here we chose a house image from Unsplash, and now that image is loaded and sent to the AI cloud:
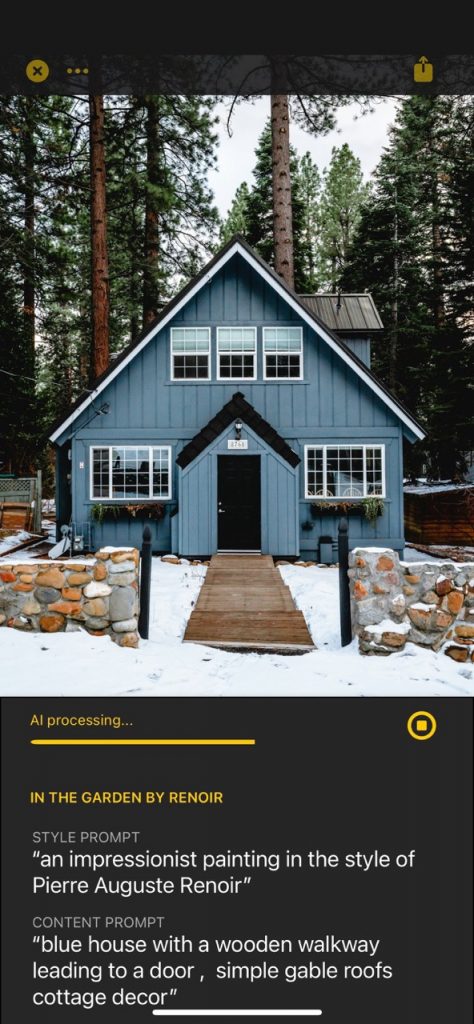
This usually takes a few seconds, and once ready you will see the result:
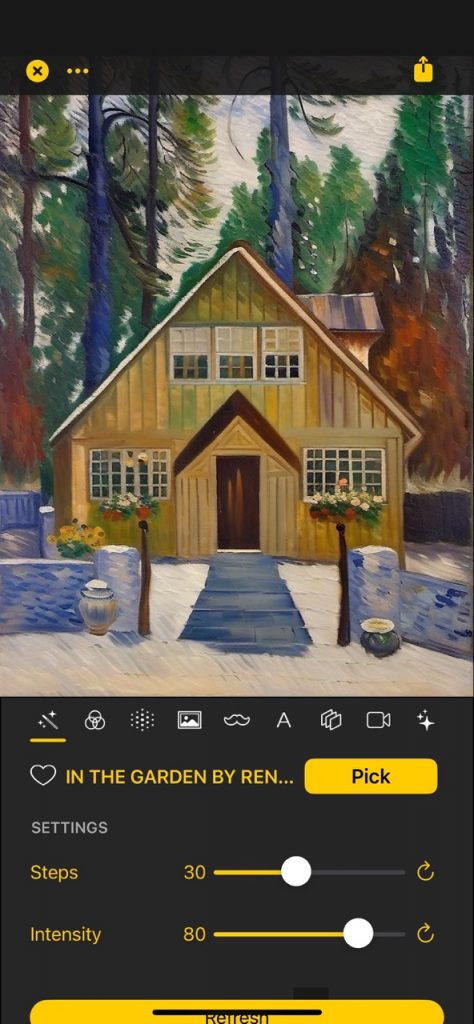
Congratulations! This artwork can now be saved by tapping on the top-right share button:

You can save as JPG, PNG, or to the Camera Roll, among other options.
In this screen you can also perform other basic operations:
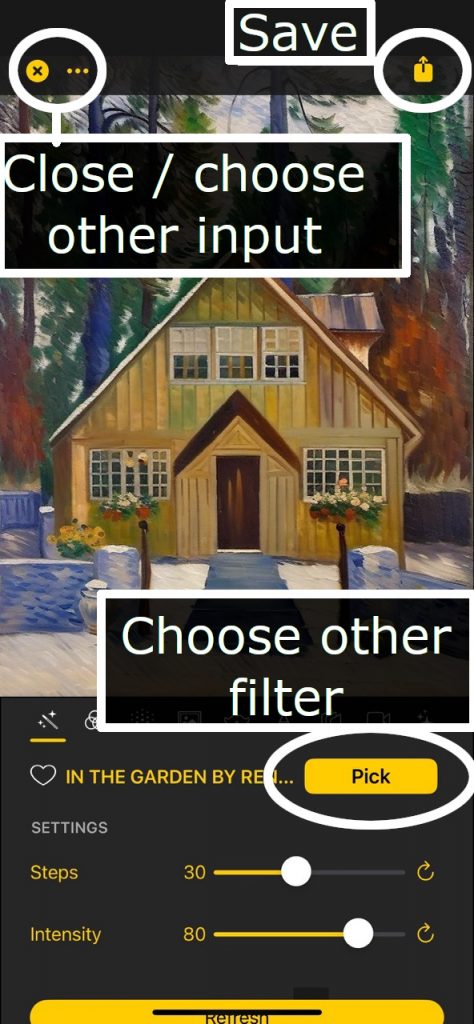
Use ‘Pick‘ to select another filter. Use the X on the top-left to exit and go back to the initial screen. Use the … dots in the top-left to choose another input image (or crop the current one).
Congrats! You can now continue learning with Tweaking AI settings, learn about our AI bundle & subscription, or go back to the main Documentation.